Vegan chocolate truffles are pure bliss! They have a creamy chocolate center and crunchy cookie bits, rolled in a delectable strawberry powder that adds a subtle fruity taste and burst of color.
Table of Contents
Why You'll Love This Easy Chocolate Truffles Recipe
- Simple- Thinking of making homemade truffles can sound pretty intimidating, but it is so easy and there is no baking required!
- Decadent- The rich and creamy flavors of these chocolate truffles take you to a place of bliss with every bite.
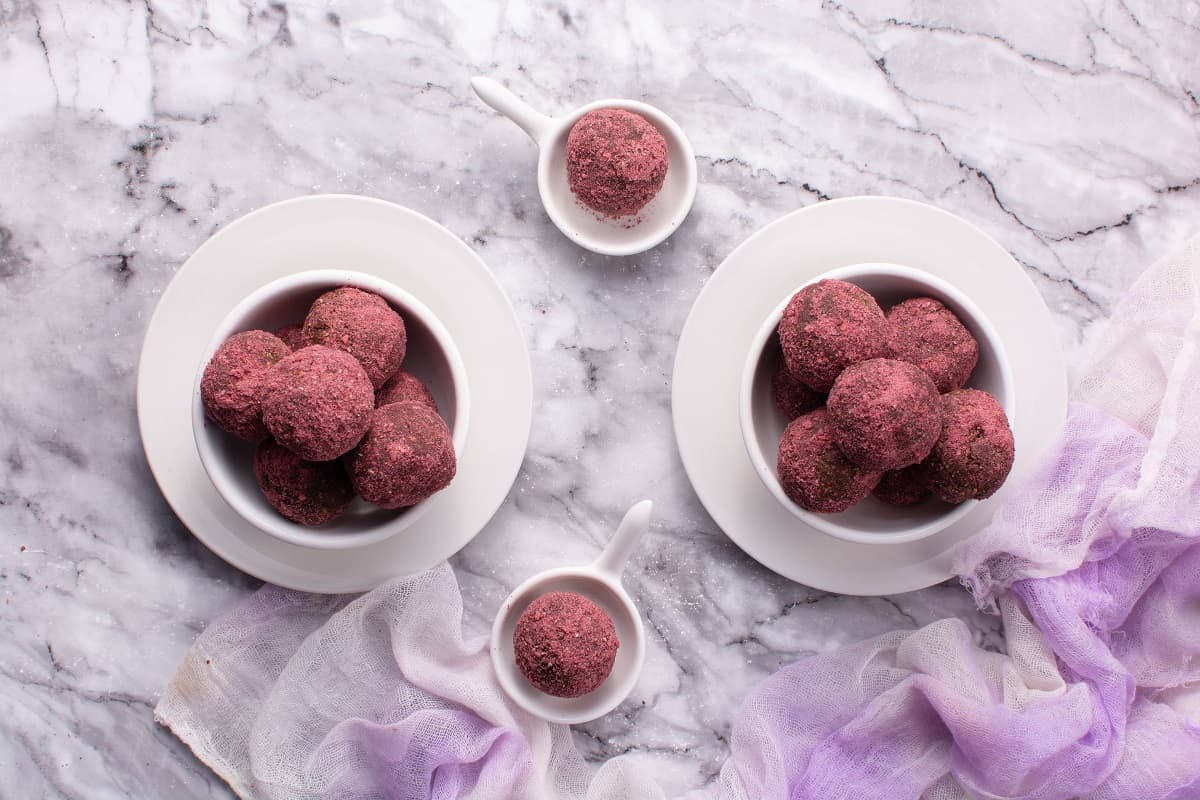
- Eye-catching- These decadent truffles are not only delicious, but they're also attractive to the eye. Display the chocolate truffles on a beautiful plate or platter at parties to show off just how gorgeous the chocolate truffles are.
What Are Chocolate Truffles?
A traditional chocolate truffle is a candy made with melted chocolate, heavy cream, and butter, rolled into small balls, and then coated with cocoa powder. Some variations may include flavors like liqueurs, cookies, or nuts.
This vegan chocolate truffle recipe uses plant-based ingredients to create a delicious chocolate truffle. Instead of heavy cream and butter, we'll be using dairy-free alternatives to achieve the same creamy texture.
Equipment Needed
- Microwave-Safe Bowl
- Stirring Spoon
- Food Processor
- Wide Shallow Plate
- Baking Sheet
- Parchment Paper
- Measuring Cups and Spoons
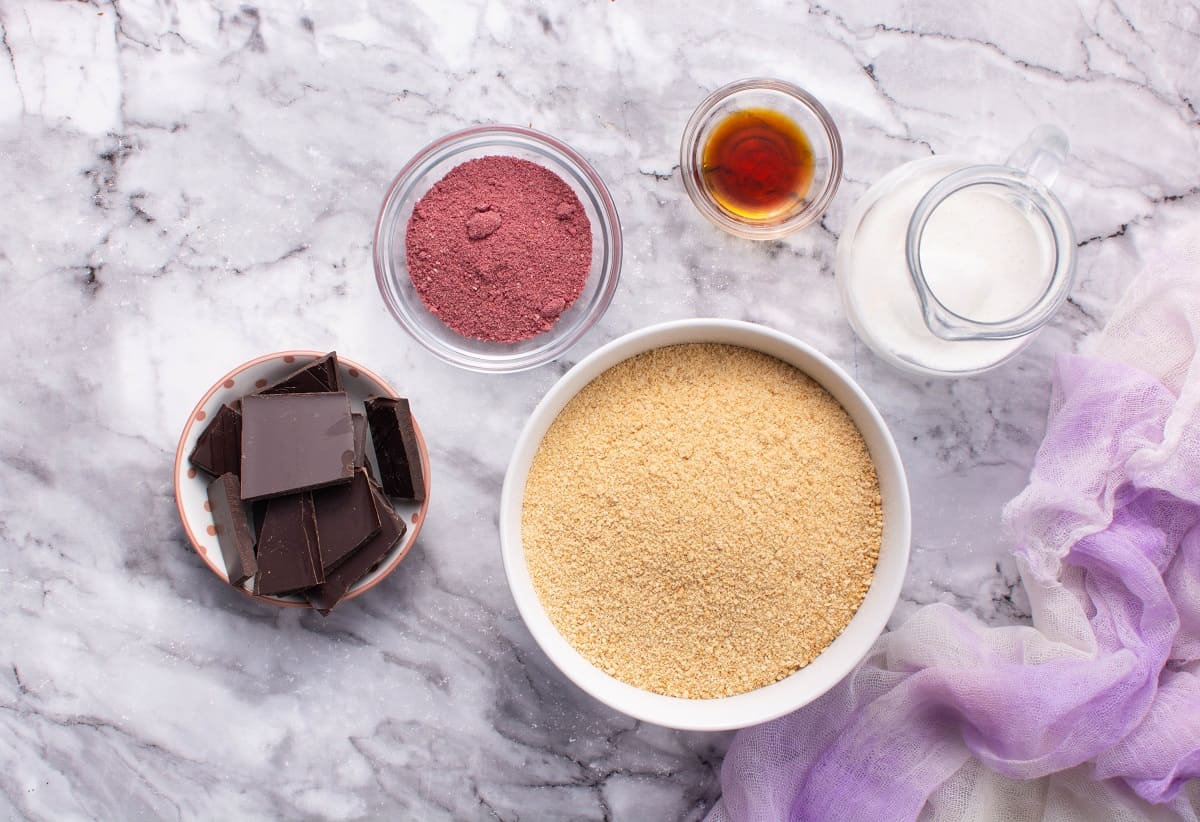
Ingredients
- Dairy-Free Heavy Cream- Creates a smooth and creamy texture for the vegan truffles.
- Vegan Chopped Chocolate- Melted chocolate gives these truffles their classic rich flavor.
- Vanilla Extract- Enhances the chocolate flavor and provides a fantastic aroma.
- Ground Cookies- Used as a binder and give these vegan chocolate truffles a satisfying crunch.
- Freeze-Dried Strawberry Powder- (Optional) Adds a sweet, fruity flavor and pop of color.
How To Make Vegan Chocolate Truffles
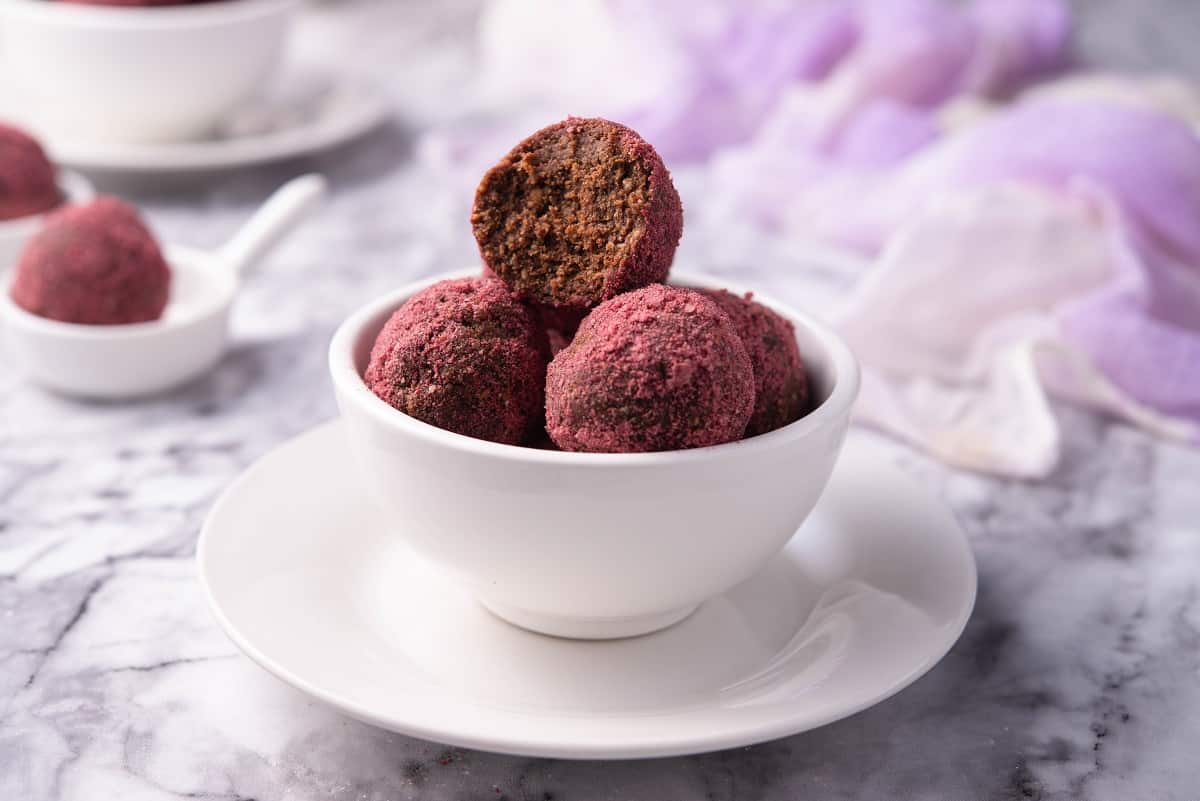
Start by melting heavy cream and chocolate in a microwave-safe bowl, then fold in the vanilla extract and ground cookies. Form the chocolate mixture into truffles after everything has been coated and well combined. Finally, roll the chocolate truffles in strawberry powder and place them on a parchment-lined baking sheet before putting them in the refrigerator to let them set.
Popular Substitutions & Additions
- To customize your homemade chocolate truffles, try using a variety of ground cookies. Use Oreos, shortbread cookies, graham crackers, or even ginger snaps. Have fun with it, and come up with your own favorite flavor combination.
- In addition to changing up the cookies, try using different types of chocolate. Dark chocolate, milk chocolate, and white chocolate all have different flavors and would make amazing substations.
- Replace the strawberry powder with ordinary cocoa powder, vanilla powder, or any other powdered ingredient you like.
- To add some extra pizazz to your truffles, add sprinkles, finely chopped nuts, shredded coconut, or a drizzle of melted chocolate.
Can I Freeze Vegan Chocolate Truffles?
Yes, you can definitely freeze vegan chocolate truffles! In fact, freezing them can help preserve their texture and flavor for longer periods of time. Just make sure to store them in an airtight container or freezer bag to prevent freezer burn. When you're ready to enjoy them, thaw them at room temperature for a few minutes before digging in.

Vegan Chocolate Truffles FAQs
Do I have to crush my cookies in the food processor?
No, you don't have to use a food processor to crush your cookies. While it does make it easier and makes sure that they are finely ground, you can also crush them by hand or in a blender if you don't have a food processor. Just make sure that the pieces are not too big for the truffles.
What size should vegan truffles be?
Typically, truffles are about the size of 2 tablespoons. A cookie scoop also makes an excellent truffle scoop! A regular kitchen spoon will also do the trick if you don't have a cookie scoop.
What type of chocolate should I use for vegan chocolate truffles?
There are no limits on this recipe, so you may use any vegan chocolate you like in this recipe. Dark chocolate, semi-sweet chocolate, or vegan chocolate chips would all taste amazing. Whatever chocolate you pick, be sure it's of high quality to ensure that it melts correctly.
Will coconut milk work in place of heavy cream in this recipe?
Yes! Canned coconut milk is an excellent alternative to heavy cream. The full-fat coconut milk will add a hint of coconut flavor, and the texture of the truffles will still be creamy. Coconut cream can also be used in place of heavy cream.
📋 Recipe
Vegan chocolate truffles
Ingredients
- ⅔ cup dairy-free heavy cream
- 6 oz chopped chocolate
- 1 tsp vanilla extract
- 8 oz ground cookies
- ¼ cup freeze-dried strawberry powder Optional, you can also try other flavors.
Instructions
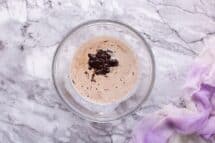
- In a microwave-safe bowl, combine dairy-free heavy cream and chocolate.
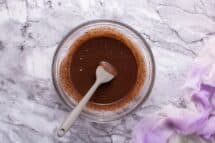
- Microwave for 30 seconds or until the chocolate is melted. Stir well until combined.
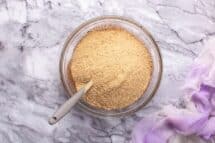
- Fold in vanilla and ground cookies.
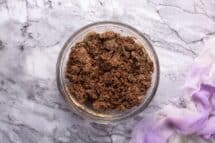
- Stir well to combine.
- Spread the freeze-dried strawberry powder on a wide shallow plate.
- Shape the chocolate mixture into 12 truffles.
- Roll the truffles through the strawberry powder to coat them well.
- Refrigerate for 1 hour before serving.






Leave a Reply