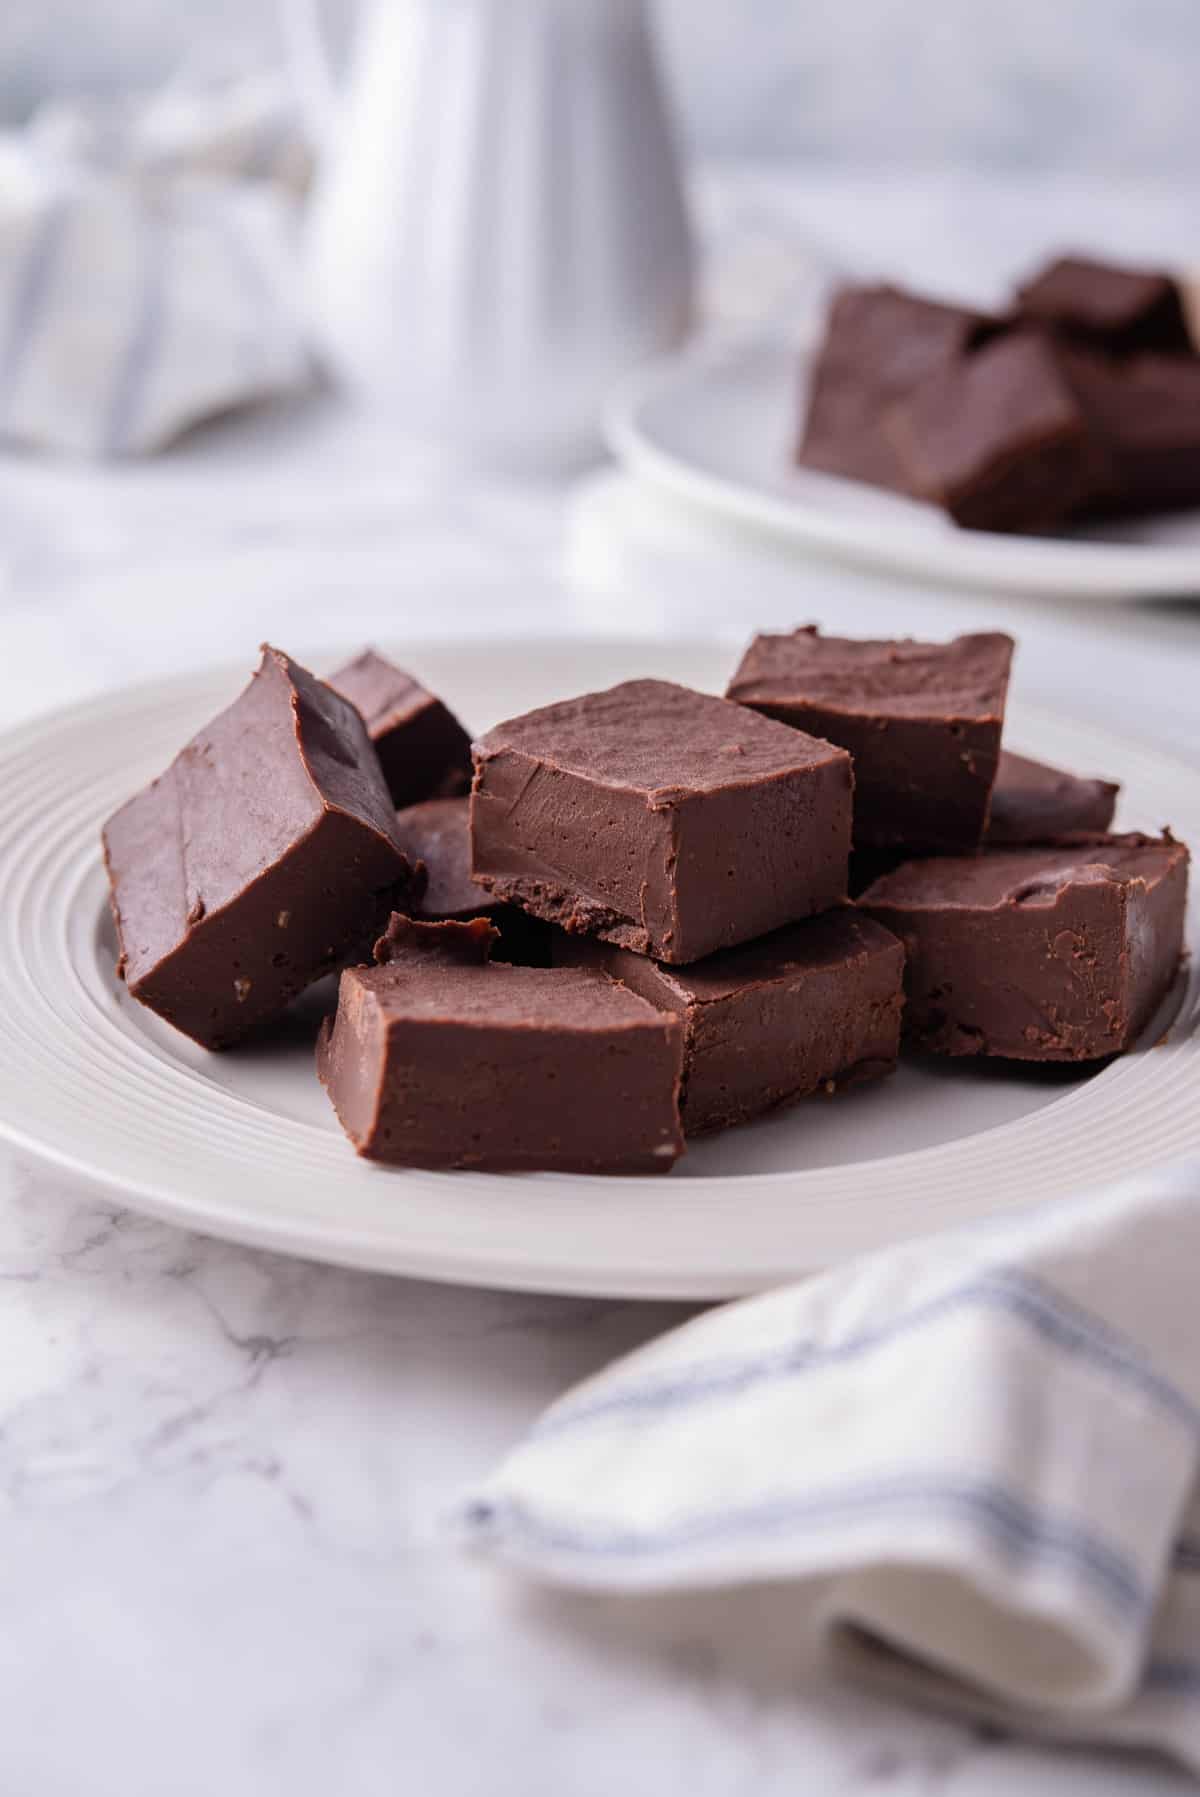
Vegan fudge is a delicious dessert the whole family will love. This fudge is made with vegan chocolate, coconut milk, syrup, and almond butter. It has a chewy, creamy texture that melts in your mouth.
Table of Contents
Why You'll Love This Homemade Vegan Chocolate Fudge Recipe
Easily Customizable- This vegan fudge recipe is incredibly customizable. You can make it with whatever type of chocolate, nut butter, and sweetener you like. Plus, by adding different flavors or toppings, you can truly make this recipe your own.
Perfect For Any Occasion- Whether you’re celebrating a special event or just want to treat your taste buds, this vegan fudge recipe is perfect for any occasion.
No-Bake Recipe- The process of making this vegan chocolate fudge doesn't require baking, so it’s incredibly easy to make and great for those hot summer days when you don't want to turn on the oven.
What Is Fudge?
Fudge is a sweet treat made with sugar, butter, milk, or cream. It comes in various flavors, including chocolate, nuts, and fruits. Fudge has a rich and creamy texture and can be served in different shapes, such as squares or cubes. It was first created in the late 1800s and is still a popular dessert today.
Vegan fudge is a delicious alternative to traditional fudge, which uses vegan ingredients such as vegan chocolate, coconut milk, coconut syrup, and almond butter. This vegan fudge still has the same texture and flavor as traditional fudge but is made without any animal products making it suitable for those who follow plant-based diets.
Equipment Needed
- Large Microwave-Safe Bowl
- Spatula
- Parchment Paper
- Baking Dish
- Measuring Cups and Spoons
Ingredients
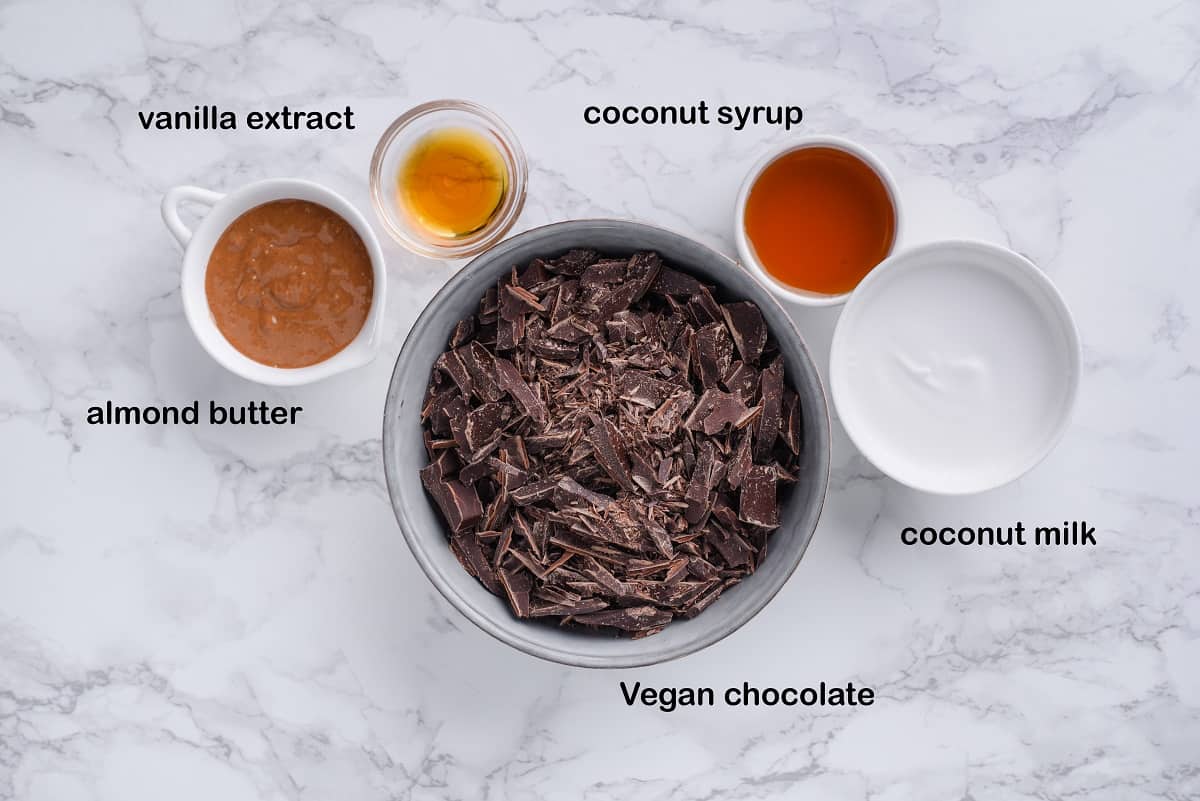
- Vegan Chocolate- Provides the fudge with a rich chocolate flavor.
- Full-Fat Coconut Milk- Adds sweetness and creaminess to your vegan fudge.
- Almond Butter- Gives the fudge a nutty layer of flavor and creaminess.
- Coconut Syrup- Provides the fudge with an added sweetness.
- Vanilla Extract- Enhances the flavor of the fudge and adds a subtle hint of vanilla.
How To Make Vegan Fudge
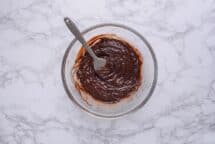
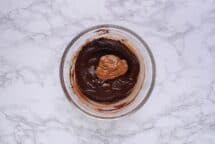
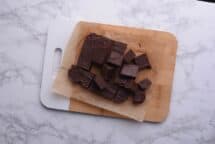
Combine chopped chocolate and coconut milk in a large microwave-safe bowl, then microwave on medium heat until the chocolate is completely melted. Use a spatula to mix until smooth. After that, add the almond butter, coconut syrup, and vanilla extract, and stir until well combined.
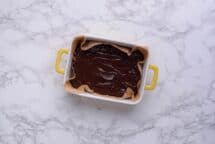
Line a baking dish with parchment paper, and pour the chocolate mixture into it. Make sure to smooth the top and then refrigerate for at least an hour. Once hardened, cut the vegan chocolate fudge into squares and serve as desired.
Popular Substitutions And Additions
- Chocolate- You can use any type of vegan chocolate you like; dairy-free chocolate chips or vegan chocolate chips both work great. Use dark chocolate bars, semi-sweet chocolate, or white chocolate chips. Adding a bit of cocoa powder will also give this delicious fudge even more of a rich chocolate flavor.
- Nut Butter- Swap out the almond butter for other nut butter like peanut butter, sunflower seed butter, hazelnut butter, or cashew butter. Using less chocolate and more peanut butter makes a great peanut butter fudge that tastes amazing.
- Sweeteners- To make the vegan fudge sweeter, you can add a few teaspoons of maple syrup or agave nectar.
- Extras- Add any extras that you like to the fudge, such as chopped nuts, flaky sea salt, dried fruits, coconut flakes, or chocolate chips.
- Milk- Use sweetened condensed coconut milk, oat milk, soy milk, sweetened condensed oat milk, and vegan sweetened condensed milk.
Can I Freeze This Dairy-Free Fudge?
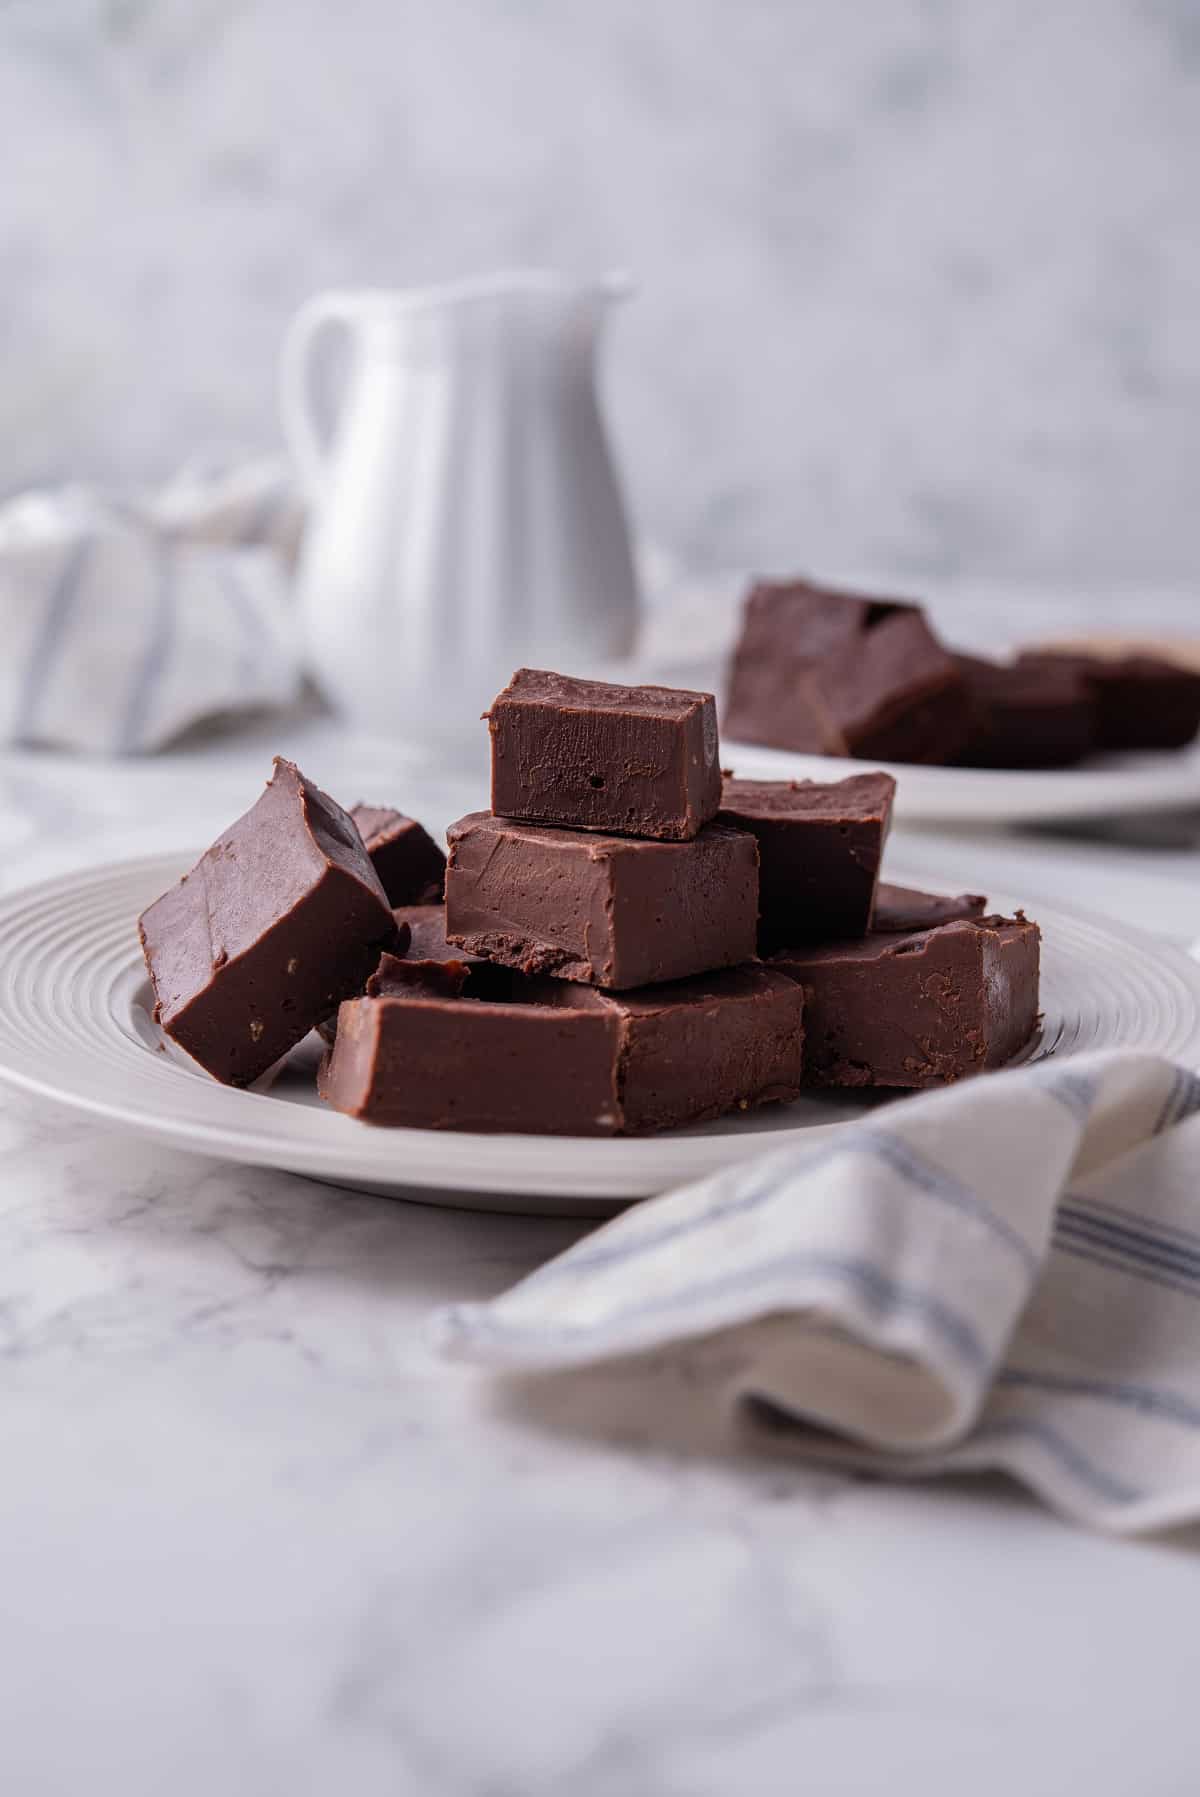
Yes, this vegan fudge can be stored in the freezer for up to 3 months. Make sure to wrap it tightly with plastic wrap or parchment paper before freezing in an airtight container. When ready to eat, thaw out at room temperature and enjoy!
Easy Vegan Fudge Recipe FAQs
What kind of chocolate should I use for this recipe?
You can use any vegan-friendly chocolate you like. Dairy-free dark or semi-sweet chips, white chocolate chips, and even cocoa powder are all great options.
Can I make this fudge without nuts?
Yes! If you're avoiding nuts or have an allergy, you can make this vegan fudge recipe without any nuts. Instead, use a nut-free butter alternative such as sunflower seed butter or tahini.
How should I store this vegan chocolate fudge?
The best way to store vegan fudge is in an airtight container in the fridge for up to 2 weeks.
Can I make this easy vegan fudge recipe without coconut milk?
Yes, you can substitute almond or oat milk for coconut milk when making it.
📋 Recipe
Homemade Vegan Fudge
Ingredients
- 2 cups chopped Vegan chocolate
- ⅓ cup full-fat coconut milk
- ¼ cup almond butter
- 2 tbsp coconut syrup
- ½ tsp vanilla extract
Instructions
- Combine chopped chocolate and coconut milk in a microwave-safe bowl. Microwave on medium heat until the chocolate is melted.
- Combine chocolate and milk with a spatula until smooth
- Add almond butter, coconut syrup, and vanilla extract. Stir until smooth.
- Transfer the chocolate mixture to the baking dish, lined with parchment paper. Smooth the top and refrigerate for 1 hour.
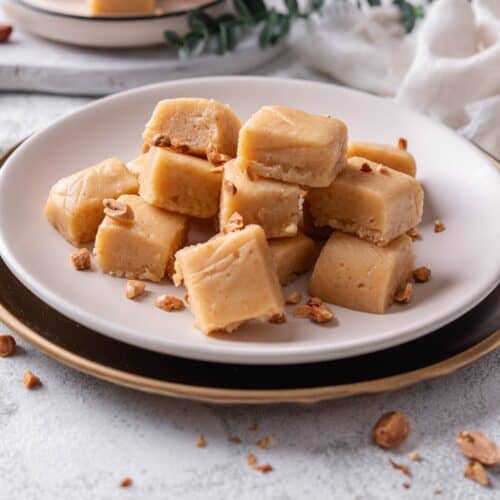
- Cut the fudge into 16 squares and serve.
- Store the remaining fudge in the fridge, in an airtight container.






Leave a Reply