

Vegan red velvet cake is a delightful twist on the classic. It has a deep red color and tangy flavor. The cake is light, fluffy, and topped with luscious vegan cream cheese frosting.
Table of Contents
Why You'll Love This Vegan Red Velvet Cake Recipe
A Classic- Who can resist the charm of red velvet cake? This vegan version lets everyone in on the fun without compromising on flavor. The classic combination of rich cocoa, tangy vegan buttermilk, and velvety cream cheese frosting makes a delicious treat perfect for any celebration.
Moist and Delicious- This cake is made with a classic combination of cocoa and buttermilk, making it moist and scrumptious. It's perfect topped with cream cheese frosting or your favorite vegan icing.
Simple To Make- This vegan red velvet cake is so easy to make with just a few simple steps and minimal ingredients. Plus, baking only takes 30 minutes so that you can have a delicious dessert in a jiffy!
What Is Red Velvet Cake?
Red velvet cake is a classic cake traditionally made with cocoa powder, butter, and buttermilk. The resulting cake has a moist texture and sweet flavor. It's usually topped with cream cheese frosting and decorated with colorful sprinkles.
Vegan red velvet cake contains all the same ingredients as the traditional versions, except eggs and dairy products, which are substituted for vegan substitutes like flax eggs, coconut cream, and vegan butter.
Equipment
- Oven
- 9-Inch Cake Pan (2)
- Parchment Paper
- Large Mixing Bowl
- Mixing Bowls (3)
- Stirring Spoon or Spatula
- Sifter
- Wire Cooling Rack
- Measuring Cups and Spoons
Ingredients
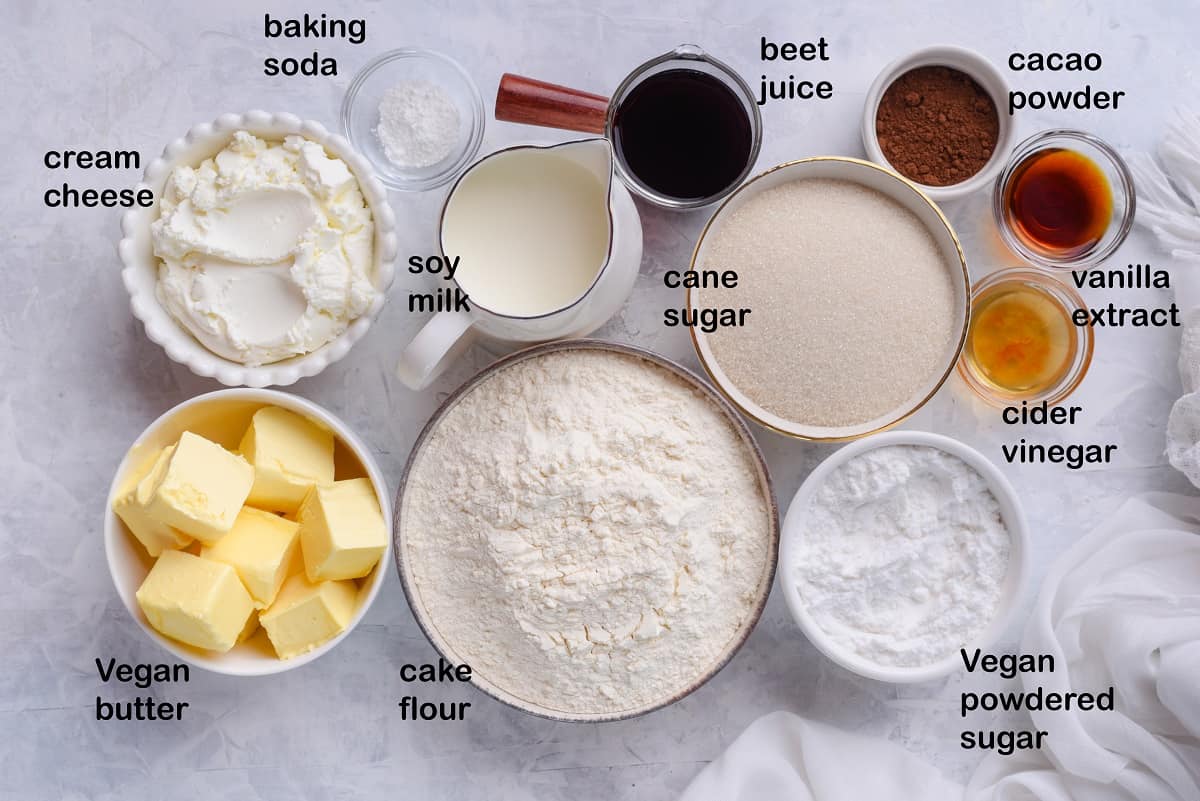
For The Cake
- Soy Milk- Helps to make the vegan red velvet cake moist and tender.
- Apple Cider Vinegar- Adds a light acidity to the cake, which helps activate the baking soda and make it rise. Substitute white vinegar for apple cider vinegar.
- Cake Flour- A finer-textured flour that helps create a softer, more delicate cake crumb.
- Cocoa Powder- Cocoa powder adds a delicious, rich chocolate flavor to the cake batter.
- Baking Soda- Helps the cake rise and gives it a light, airy texture. Baking powder can be used in place of baking soda.
- Vegan Butter- Vegan butter enhances the flavor of the cake.
- Organic Cane Sugar- Adds sweetness and helps to bind the ingredients. You can also use coconut sugar or brown sugar instead of cane sugar.
- Vanilla Extract- Gives the red velvet cake a subtle sweet flavor.
- Beet Juice- Provides the cake with its signature deep red color.
For The Frosting
- Vegan Cream Cheese- Softens the frosting and gives it a light, creamy texture.
- Powdered Sugar- Sweetens the vegan cream cheese frosting and adds body to the cream cheese frosting.
- Vanilla Extract- Enhances the flavor of the cream cheese frosting.
How To Make Vegan Red Velvet Cake
Get started by preheating the oven to 350F. Next, we'll line 2 9-inch cake pans with parchment paper, both on the bottom and sides.
Now, combine soy milk and apple cider vinegar and set it aside for 5 minutes. This will create a vegan buttermilk.
Add cake flour into a bowl. Then, sift in cocoa powder and baking soda.
In a separate bowl, cream vegan butter with cane sugar. Remember to add vanilla extract and beet juice.
Finally, gently fold in the dry ingredients.
Add the vegan buttermilk and give it a good stir until you've got a nice, smooth batter.
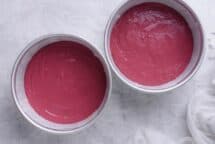
Divide the cake batter evenly between the prepared cake pans. Place both cake layers in the preheated oven and bake for approximately 30 minutes or until a toothpick inserted into the center comes out clean. Then, allow the cake sponges to cool on a wire rack.
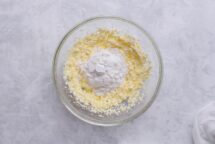
Now it's time to make the vegan cream cheese frosting! Start by beating the butter and vegan cream cheese until they combine nicely. Then, add the powdered sugar and beat until it becomes fluffy.
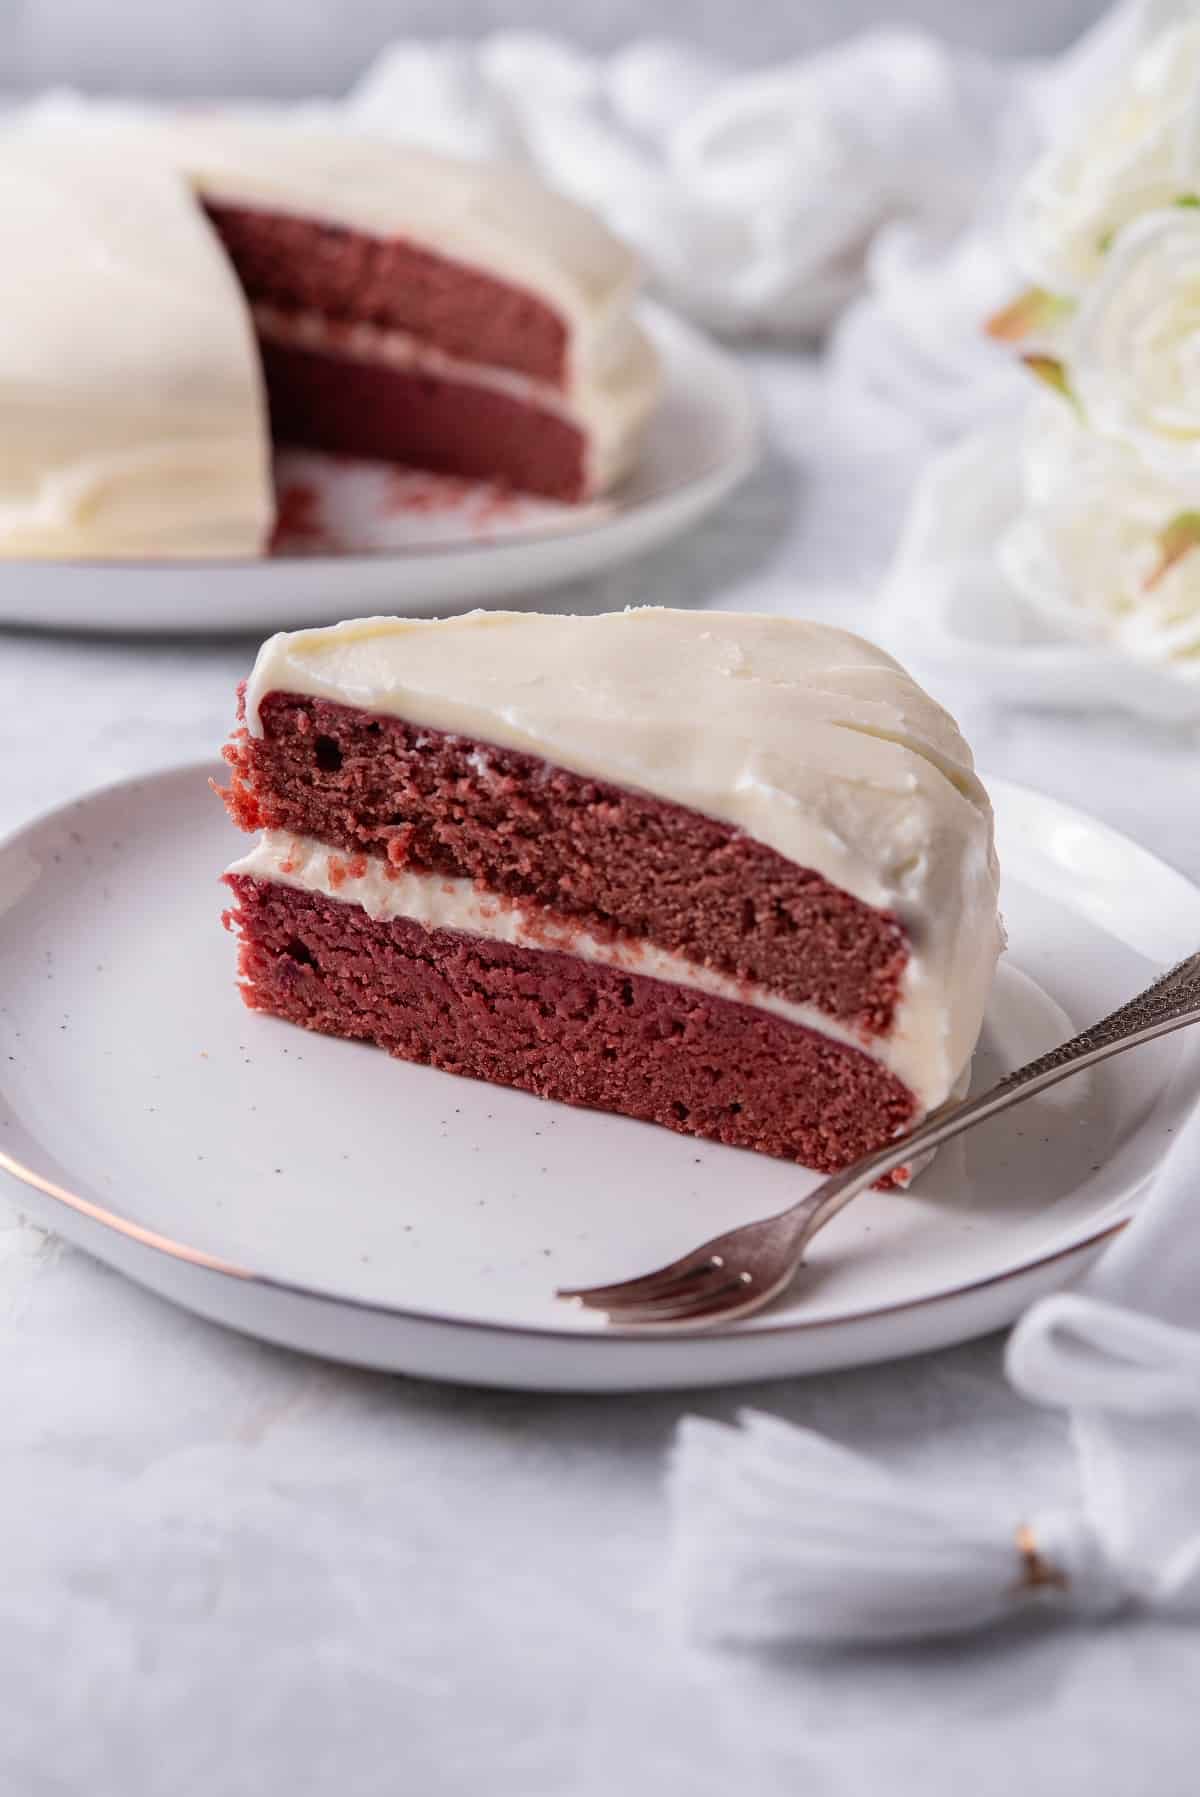
Now it's time to assemble the cake! Place one piece of the cake sponge in front of you. Then, generously spread ⅓ of the prepared frosting on top. Next, gently place the second piece of the cake sponge on top of the frosting. Cover the top and sides with the remaining frosting for the finishing touch. Pop the cake in the fridge for 2 hours to cool completely before slicing and serving.
Note- Use a hand mixer or stand mixer to make prep time faster.
Popular Substitutions & Additions
- Coconut cream or any dairy-free milk can be substituted for soy milk.
- Add more cocoa powder or melted vegan chocolate to the cake batter to make more of a chocolate cake.
- Add some lemon juice to the batter for an even more refreshing twist.
- Use vegan chocolate chips, crushed nuts, or sprinkles to decorate the vegan red velvet cake.
- Add vegan red food coloring, raspberry, or strawberry puree to your cake batter for a more vibrant red color.
Can I Freeze Vegan Red Velvet Cake With Cream Cheese Frosting?
Yes, this vegan red velvet cake can be frozen. To freeze the red velvet cake, wrap it tightly in plastic wrap and then place it in an airtight container in the freezer for up to 4 months. When you're ready to enjoy it, thaw it overnight in the refrigerator before serving.
Vegan Red Velvet Cake Recipe FAQs
Can I make vegan red velvet cupcakes instead of a full-sized cake?
Yes, this recipe can also be used to make 24 cupcakes. Bake the cupcakes for 18-20 minutes or until a toothpick inserted into the center comes clean.
Do I have to use beet juice for color?
No, beet juice isn't necessary, but it will give the cake a more intense red color. If you don't want beet juice, substitute it with raspberry or strawberry puree.
What is the best way to store leftover red velvet cake?
The best way to store leftover cake is in an airtight container in the refrigerator for up to 5 days.
Can this cake be made gluten-free?
Yes, you can easily make this vegan red velvet cake gluten-free cake by substituting the cake flour with a gluten-free all-purpose flour blend.
📋 Recipe
Vegan Red Velvet Cake
Ingredients
For the cake
- 1 cup soy milk
- 1 tbsp apple cider vinegar
- 2 cups cake flour
- 2 tbsp cocoa powder
- 1 tsp baking soda
- ½ cup vegan butter
- 1 cup organic cane sugar
- 1 tsp vanilla extract
- ½ cup beet juice
For the frosting
- ½ cup Vegan butter
- 1 cup Vegan cream cheese
- 4 cups powdered Vegan sugar (or just process your cane sugar)
Instructions
- Preheat oven to 350F. Line 2 9-inch cake pans with parchment paper, bottom and sides.
- Combine soy milk and apple cider vinegar. Set aside for 5 minutes to make Vegan buttermilk.

- Add cake flour into a bowl. Sift in cocoa powder and baking soda.
- In a separate bowl, cream Vegan butter with cane sugar. Add vanilla extract and beet juice.
- Fold in the dry ingredients.
- Add buttermilk and stir until you have a smooth batter.
- Divide the batter between the prepared cake pans. Bake the cake for 30 minutes or until an inserted toothpick comes out clean. Cool the cake sponges on a wire rack.
- Make the frosting: beat the Vegan butter and cream cheese until combined.
- Add powdered sugar and beat until fluffy.
- To assemble: place one piece of the cake sponge in front of you. Add ⅓ of the prepared frosting. Add the second piece of the cake sponge on top of the frosting. Cover the top and sides with the remaining frosting. Chill the cake for 2 hours before slicing and serving.










Leave a Reply